
How to add text to a photo
A caption baked into the photo itself travels with it wherever it ends up, a screenshot, a repost, a download, none of which carry a social caption field along. Here's how to add one that stays readable no matter what's behind it, and where the line sits between a caption and a watermark.
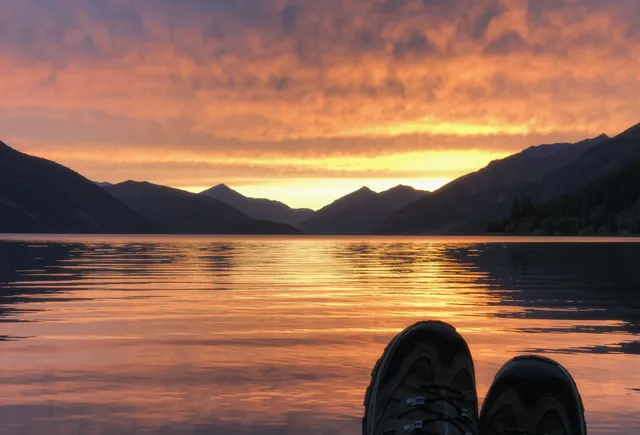
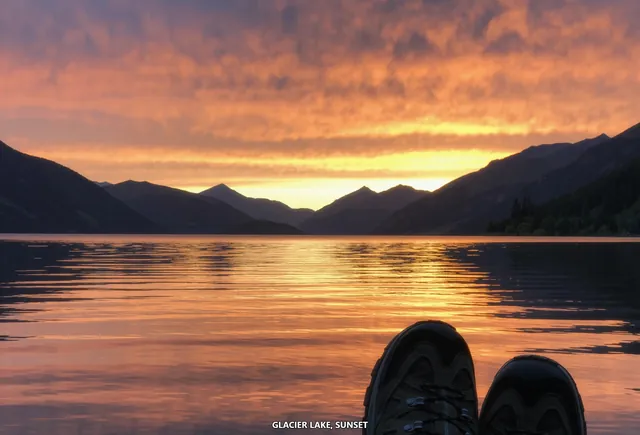
Why people add text to a photo
The reasons vary but the shape of the job doesn't. A quote graphic needs its line of text sitting inside the image, not next to it. A before-and-after pair needs a label on each half so the two don't get mixed up once they're separated from whatever post they were sharing in. A listing photo needs a price or a room name burned into the corner. A support screenshot needs an arrow's worth of text pointing at the button someone's asking about.
The common thread is that the text has to be part of the picture, not a caption field sitting above or below it in whatever app happens to be displaying it. A social platform's own caption box disappears the moment the photo is downloaded, screenshotted, or shared somewhere else. Text drawn onto the pixels doesn't, it goes wherever the file goes.
That's a different job from writing a caption for a post. This is about the photo itself carrying a short line of text permanently, the kind of thing you'd want the label to survive being forwarded five times before anyone sees where it started.
What makes a caption actually readable
Contrast decides whether a caption works before position or size ever gets a say. White text over a bright sky, or black text over a dark suit, both disappear the same way, not because the colour choice was wrong in general, but because it matched the one background it landed on.
An outline solves this without asking you to predict what's behind the text. A thin border in the opposite colour, drawn behind the letters, keeps the edges visible even where the fill colour nearly matches the photo underneath. White fill gets a black outline, black fill gets a white one, and that pairing is applied automatically, one less decision to get wrong.
Placement carries just as much weight as colour. A caption sitting across someone's eyes, or over a product's price tag, makes the photo worse rather than better, no matter how legible the text itself is. Nine anchor positions exist for exactly this reason, so the caption can be pointed at whichever corner or edge of the photo is actually empty.
How to add text to a photo in your browser
Open the caption tool and type your text into the field before dropping a photo in. The field starts empty by design, and dropping a file runs the tool immediately, so a photo dropped with nothing typed yet comes back unchanged rather than waiting for you to catch up.
Pick one of the nine positions in the grid, three rows, three columns, whichever spot in your photo has the least going on. Then set the size with the slider, anywhere from 12 to 120 pixels, sized for the photo's actual resolution rather than a fixed default, a caption sized for a phone screenshot would swallow a wide landscape shot at the same setting.
Choose white or black fill from the two-button toggle, whichever reads better against the corner you picked, and drop the photo. The caption is drawn, encoded, and handed back as a download in the same step. Nothing leaves your device at any point, the same as every tool on this site, disconnect from the internet after the page loads and it still works.
Choosing position, size and colour for the photo you actually have
Bottom center is the safe default because it's usually the widest strip of a typical photo's least busy area, but check what's actually there first, a composition that's busy along the bottom needs a different corner.
Text sitting over a face or a product almost always reads worse than text sitting beside it. Top-left and top-right are the two positions least likely to land on the subject of a typical portrait or product shot, worth trying first if the bottom of the frame is already doing something.
Size should scale with how the photo is going to be seen, not with what looks right at full screen while you're setting it up. A caption meant to survive shrinking down to a thumbnail needs to start noticeably larger than one that will only ever be viewed full size. When it's close, go one size step bigger rather than smaller, an oversized caption is still readable, an undersized one just disappears.
A caption is not a watermark
Worth saying plainly. This tool draws one line of text, once, at one size, in one position, white or black. That's a caption, a label, a short quote line, exactly the job described above. It is not built to tile a logo across a photo or make an image resistant to reuse.
Repeating watermarks and logo stamps are a different tool, with its own opacity and tiling controls a single caption box was never built to provide. Don't reach for this tool expecting that job, it isn't the same one.
File format, and shrinking the file afterward
Output format follows the same rule as every tool here: a PNG in stays a PNG, anything else defaults to JPG, or pick a format explicitly from the dropdown every tool on this site shares.
A common case worth knowing about: a screenshot captioned as PNG tends to come out large. Running it through the PNG to JPG converter afterward shrinks the file for sharing without touching the caption, because by that point the caption is already part of the pixels rather than a separate layer, there's nothing left for a format conversion to strip out.
Nothing is uploaded at any point across that chain, caption the photo, convert it if the file's too big, then share it, the whole thing runs in the same browser tab from start to finish.
A quick checklist before you share it
Type the caption before dropping the photo, an empty field means the tool hands the file back unchanged. Pick a position that misses the subject rather than the one that looks centered out of habit. Size the text for wherever it's actually going to be seen, not for the screen you're setting it up on. Let contrast decide the colour rather than a preference for one over the other. No account, no watermark, no upload, at any step.
Quick questions
Does adding text to a photo upload it anywhere?
No. It runs entirely in your browser. Disconnect from the internet after the page loads and it still works.
Can I choose where the caption goes?
Yes, a nine-position grid covers the top, middle and bottom rows across left, center and right.
What if the text is hard to read over a busy photo?
Every caption gets an outline in the opposite colour automatically, so it stays visible even where the fill colour nearly matches the background. Try a different position or the white/black toggle if it's still hard to read.
Can I add more than one line of caption?
The tool applies a single line at a time. For a second caption in a different spot, drop the file it just gave you back in and run it again with a new position.
Is this the same as a watermark tool?
No. A watermark repeats a logo or mark across a photo to protect it from reuse. This draws one line of text once, in one position, which is a different job. There's a separate watermark and logo stamp tool for that.
Which file formats can I add a caption to?
Any format this site's tools accept: JPG, PNG, WebP, AVIF, HEIC, BMP and GIF. Output defaults to matching the input, or pick a format from the dropdown.
Will this resize my photo?
No. The output keeps the exact dimensions of the file you dropped in. Only the caption is drawn on top.
Can I remove a caption once it's been added?
No, once downloaded the caption is part of the image's pixels. Keep a copy of the original before captioning if you might want an uncaptioned version later.
Converters
The converter on this page handles every conversion this guide talks about.